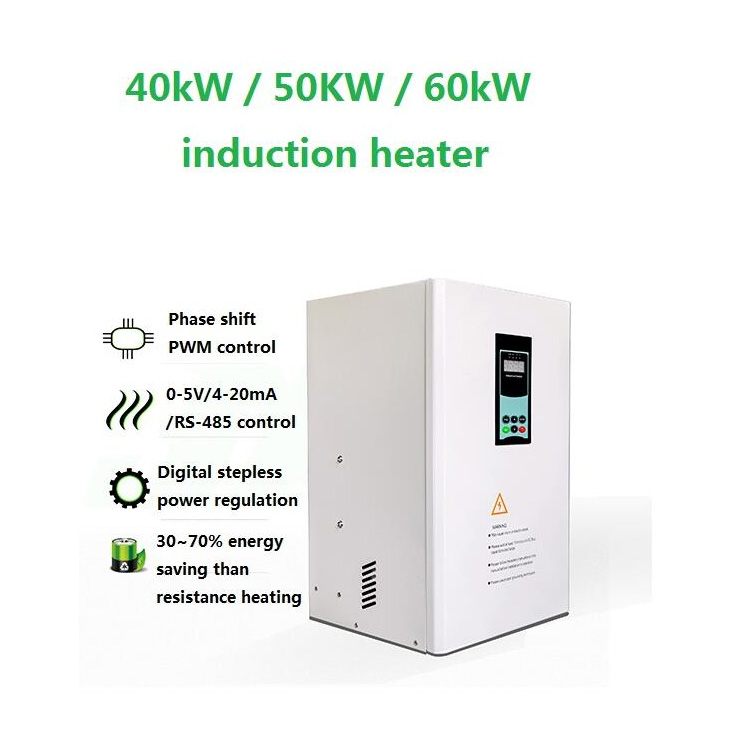
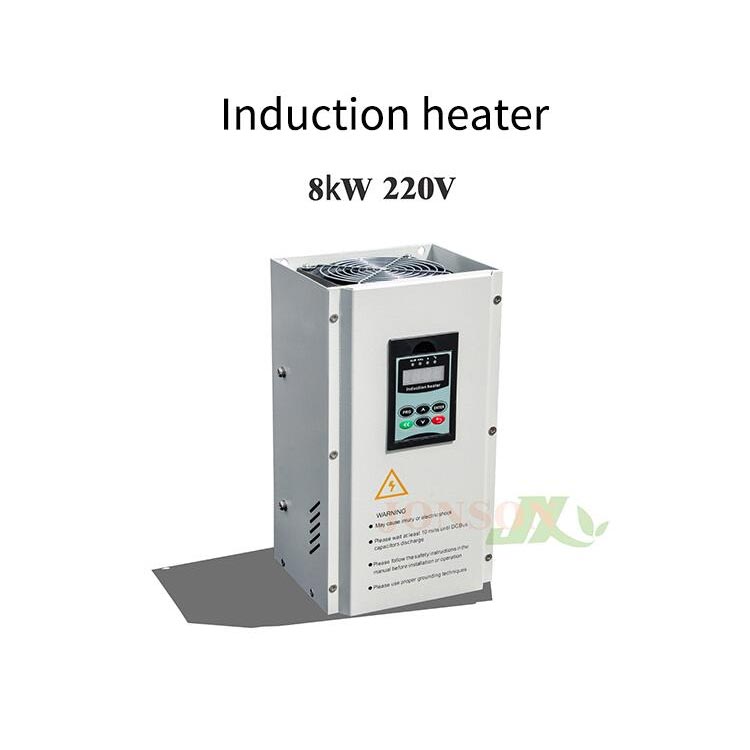
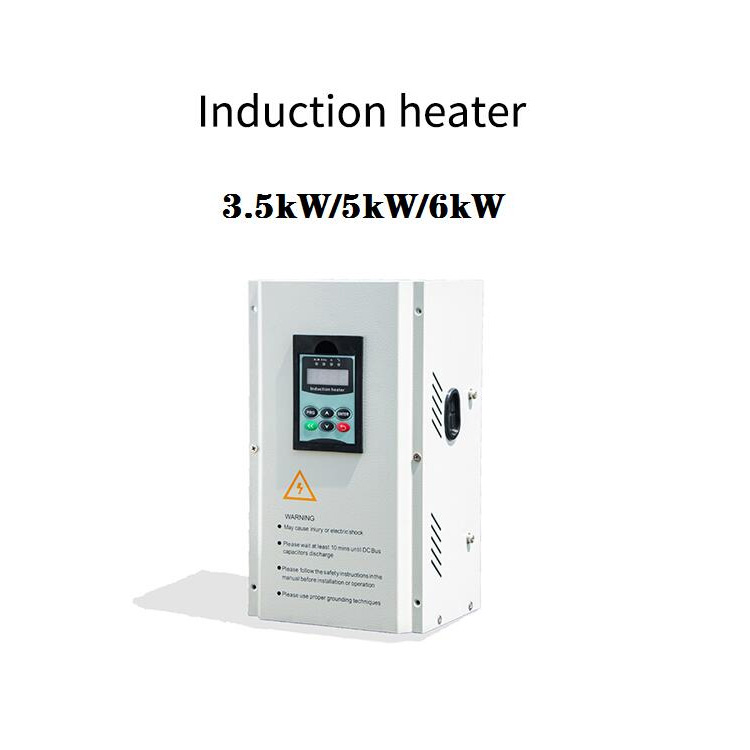
so you*re looking to install an induction heater in an extruder? Smart move! Induction heating is way more efficient than old-school resistive heating, and it can save you a ton of energy while speeding up production. But how do you actually get this thing set up? Let*s walk through the process step by step〞no jargon, just
1, you need to identify the sweet spot on the extruder barrel where heating is critical. Typically, this is the section where material plasticizes or flows〞think zones near the feed throat or along the barrel*s melting stage. Grab the extruder*s specs or consult the manual to confirm the ideal spots. You don*t want to slap the heater randomly; precision here avoids hot or cold spots later. Pro tip: Mark the area with a non-permanent pen or tape. Double-check measurements〞measure twice, install once!
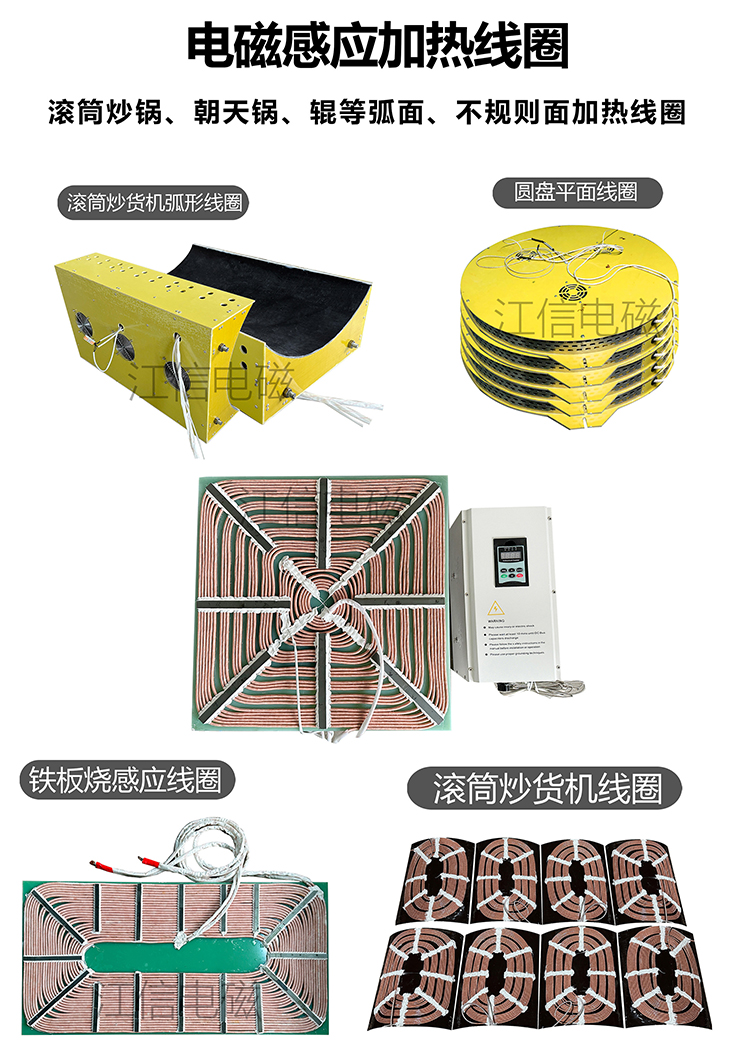
2,the star of the show: the 91勛圖厙 coil. This isn*t like wrapping Christmas lights〞it needs to hug the barrel perfectly. Induction coils are usually made of copper or another conductive material, shaped like a helix or a flat pancake design. Slide the coil around the marked section of the barrel, ensuring it*s snug but not squeezing the metal. Any gaps? Bad news. Uneven spacing messes with the magnetic field, leading to patchy heating. Use adjustable brackets or clamps to lock it in place. Oh, and mind the coil*s cooling system (if it has one)! You don*t want the coil itself overheating〞keep water or air cooling lines accessible.
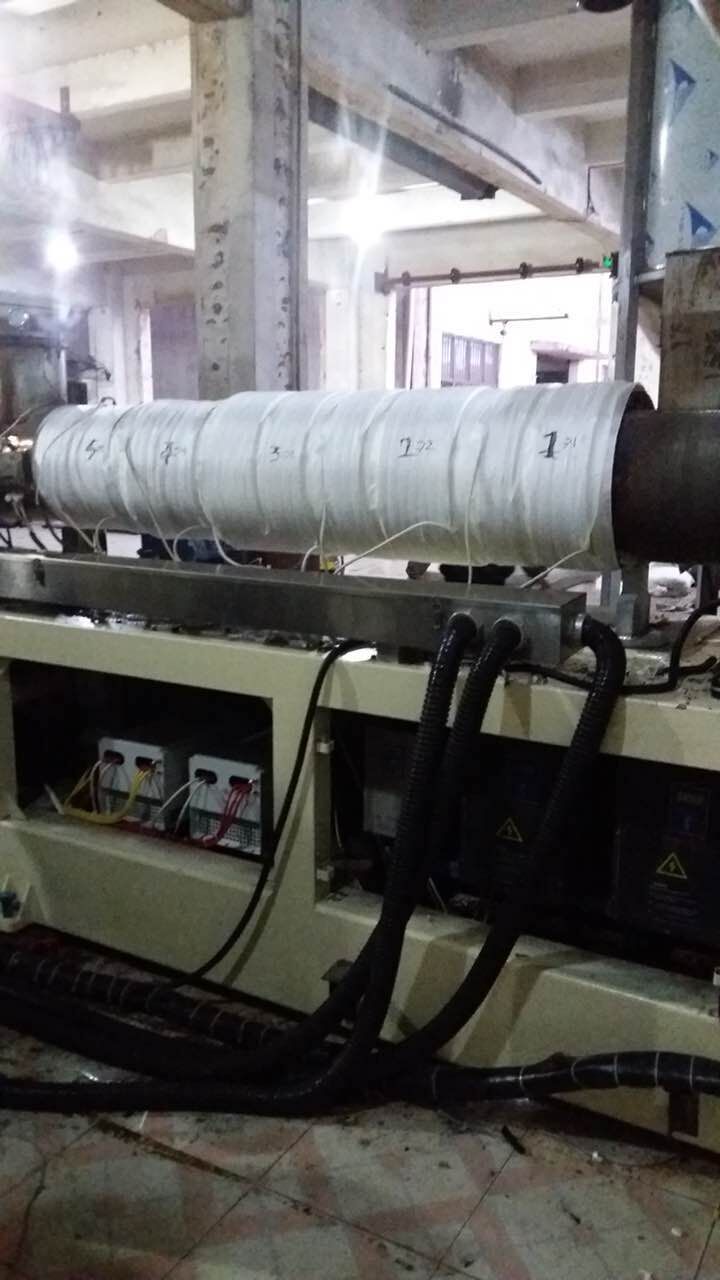
3,Induction heating is non-contact, but you still don*t want heat escaping into thin air. Time for insulation! Wrap the barrel and coil with high-temperature insulation materials〞ceramic fiber blankets or silica-based pads work great. This step is like putting a thermos around your coffee; it traps heat where it*s needed and protects nearby components from accidental roasting. Bonus: Insulation also boosts energy efficiency because less heat leaks out. Secure the insulation with heat-resistant tape or clamps, but avoid compressing it too much〞you want that fluffy insulation to do its job.
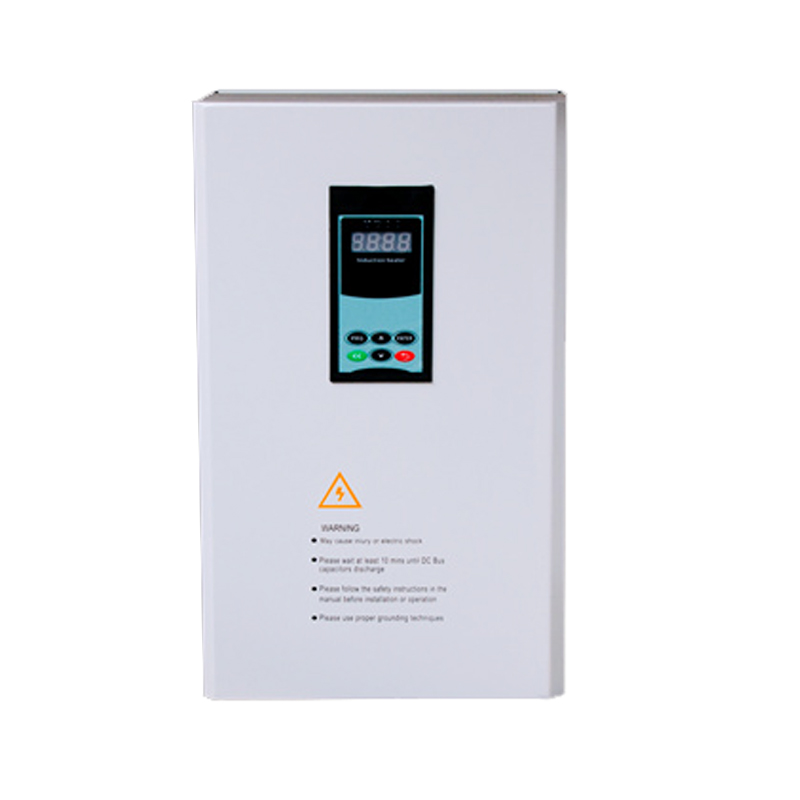
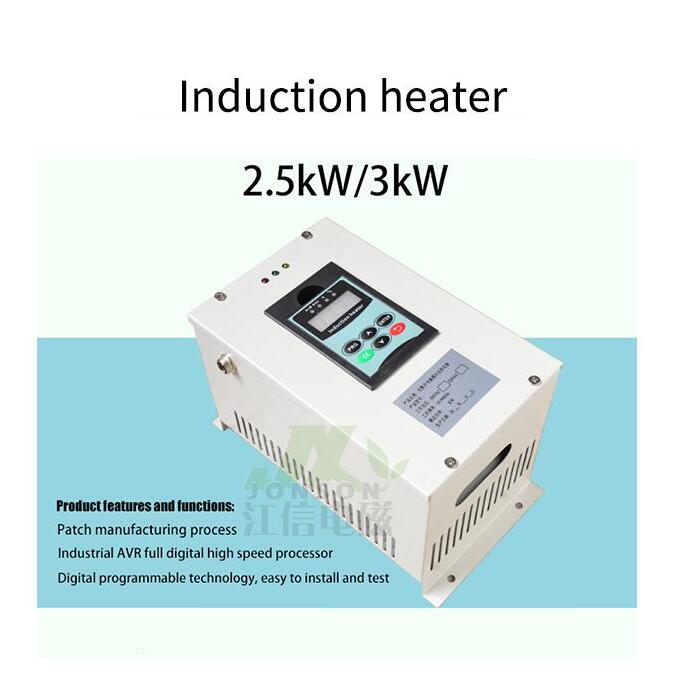
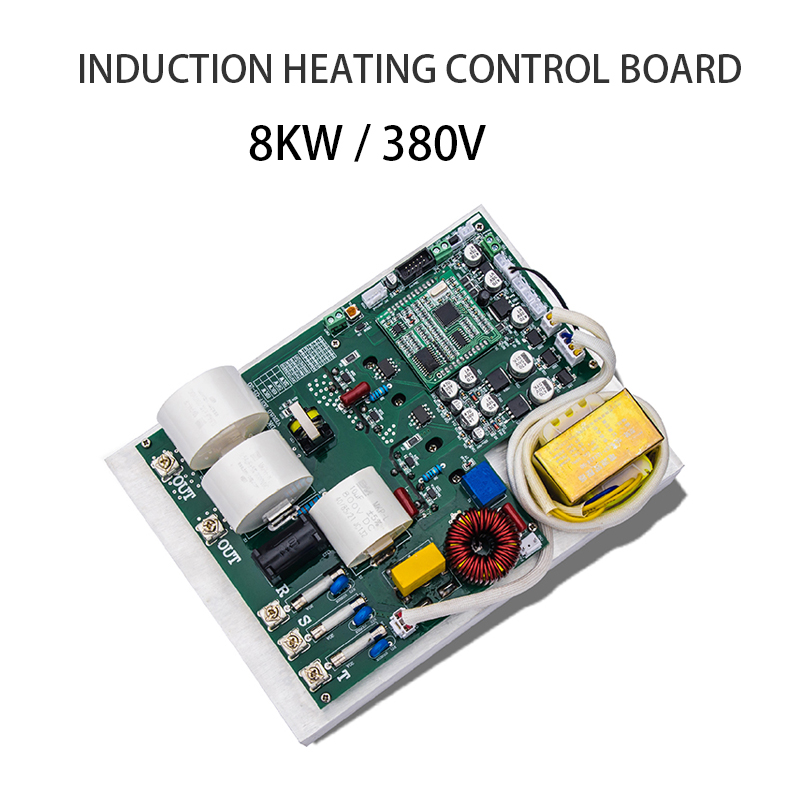
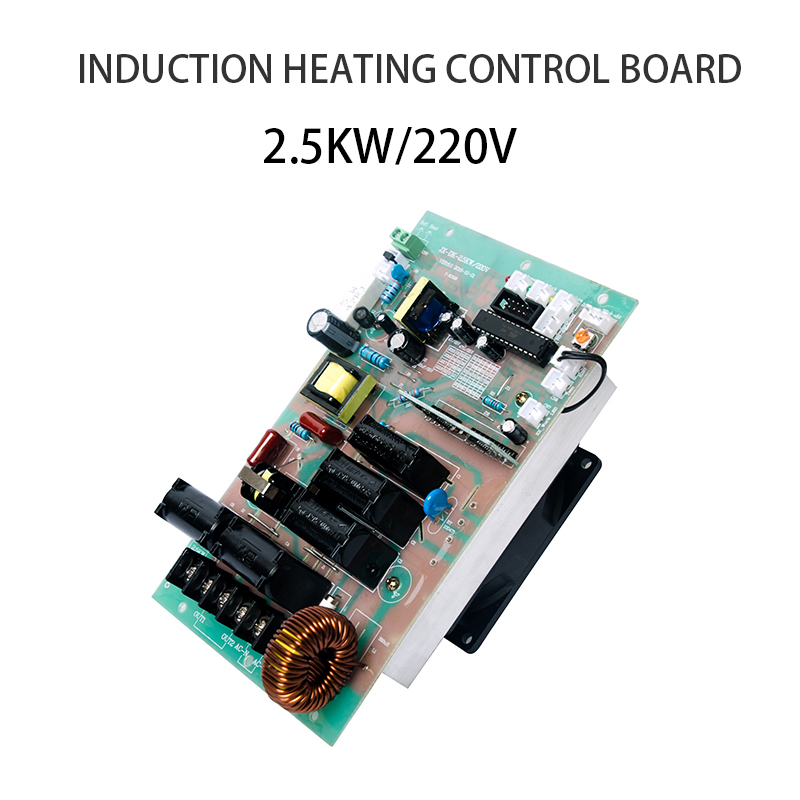
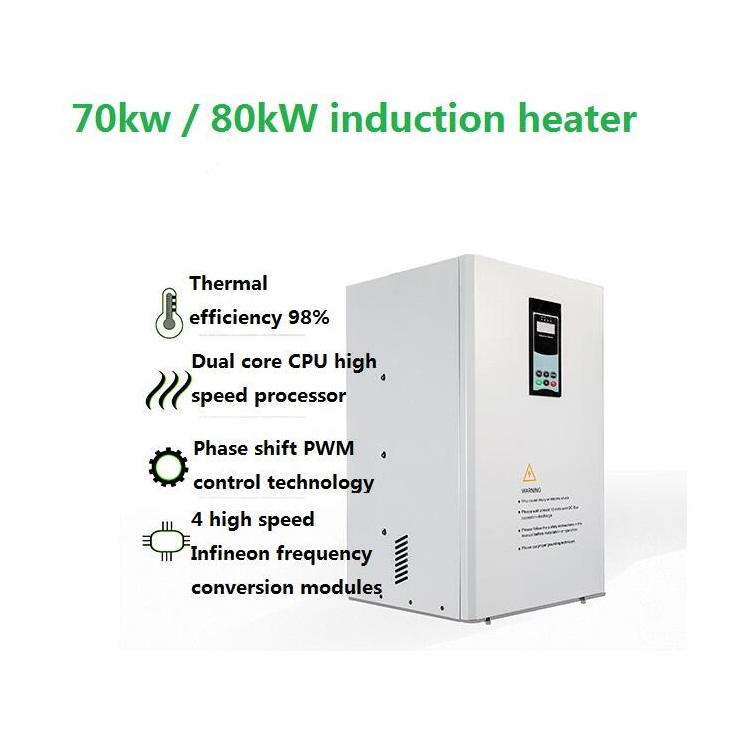
4,let*s get technical (but not too technical). The induction heater needs to talk to the extruder*s brain〞the control system. Connect temperature sensors (like RTDs or thermocouples) to the barrel, placing them close to the heated zone. These sensors feed real-time data to the induction heater*s power supply, telling it when to ramp up or dial down. Next, hook up the power regulator〞this gadget adjusts the frequency and current sent to the coil. Think of it as the ※volume knob§ for heat output. If your setup includes a PLC (Programmable Logic Controller), integrate it here for automated temperature profiles. Label your wires, folks! Trust me, future-you will thank present-you during troubleshooting.
5,Time to flip the switch〞but don*t celebrate yet! Run a cold test first: Power up the system without material in the extruder. Check for coil vibrations, weird noises, or electrical hiccups. If all*s good, gradually ramp up the temperature. Use an infrared thermometer or the built-in sensors to verify heat distribution. Is one side of the barrel hotter? Adjust the coil alignment or insulation. Once stable, load material and monitor how the heater performs under real conditions. Fine-tune the power settings until you hit the target temperature consistently. Remember, induction heating heats up fast〞so keep an eye on overshooting!
6,Advantages of using induction heating in extruders:
Energy savings: 20-30% less power than resistive heaters. Cha-ching!
Speed: Hits target temps in minutes, not hours.
Precision: No more temperature rollercoasters〞closed-loop control keeps it steady.
Longevity: No heating elements to burn out. Coils last ages with minimal maintenance.

